Domain Search
 AI Domain Search
 Domain Transfer
 TLD List with Prices
 SSL Certificates
 Create a Website
 Google Workspace
 News
 Podcast
 Promos
 About Us
 Contact

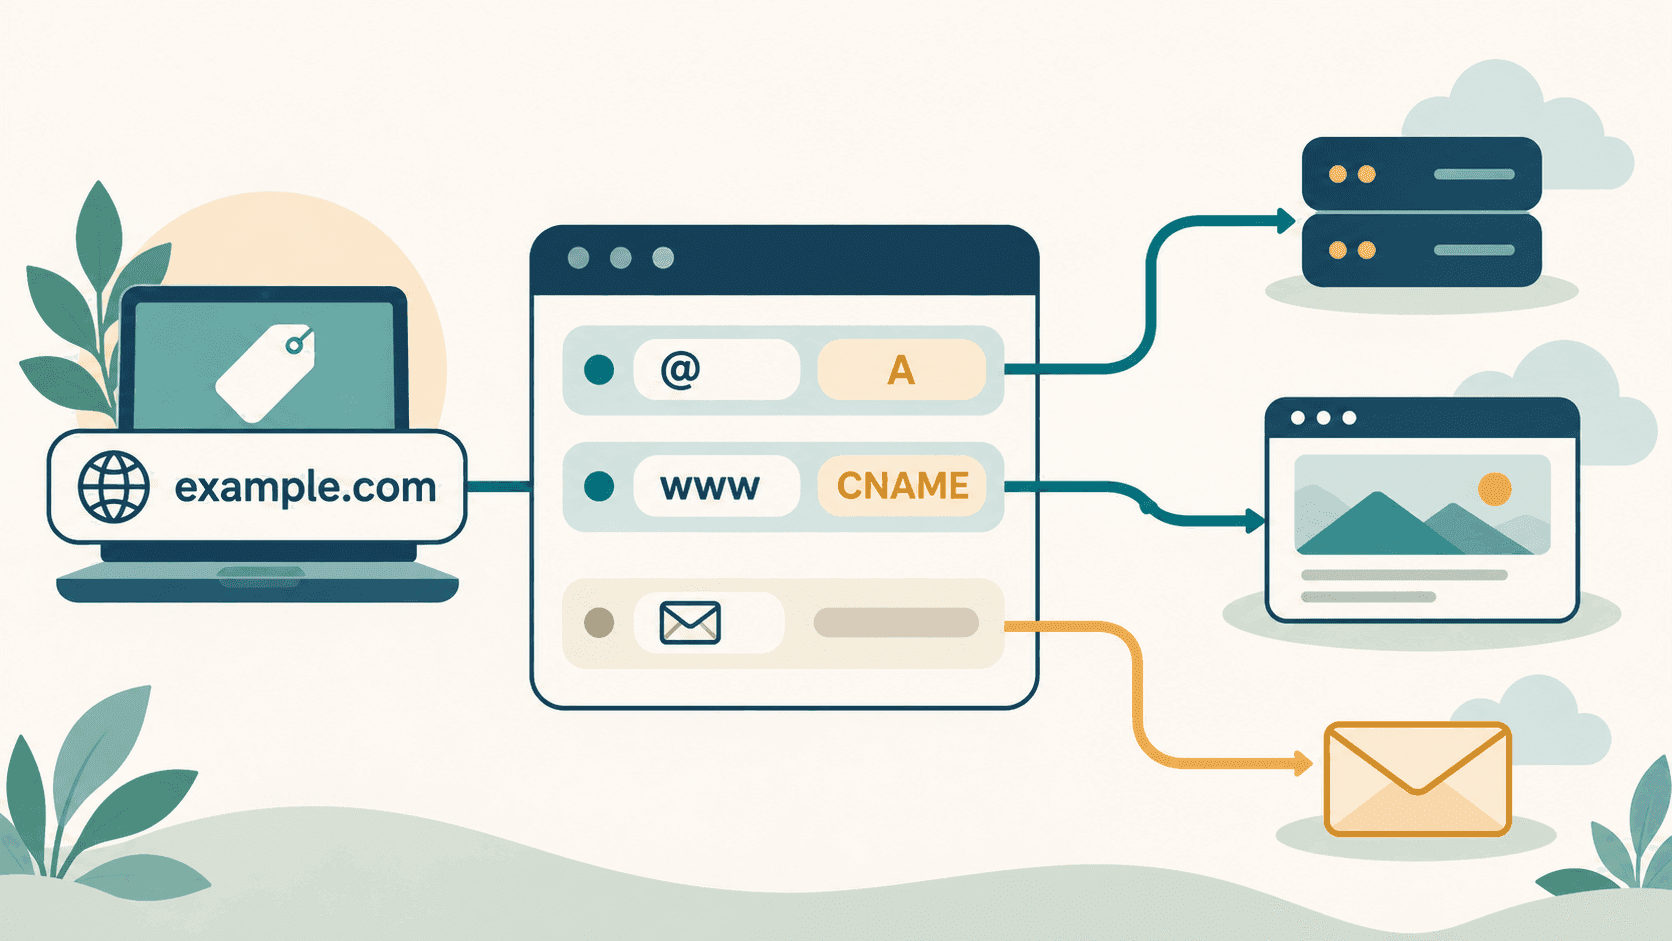
You can connect a domain registered at NicNames to a Wix site while keeping its DNS at NicNames. Wix calls this the pointing method. It uses a root-domain A record and a www CNAME supplied in your Wix connection instructions, so you can preserve unrelated email and other DNS records.
Before changing records
Wix requires an upgraded site plan to connect a custom domain. In Wix, add the existing domain to the intended site and select the manual pointing instructions. Wix generally recommends a nameserver connection because it can then manage DNS directly; pointing is useful when you need to retain DNS at NicNames, especially if the domain already has email, subdomains or verification records. Check which provider currently hosts the authoritative DNS before editing anything. If it is not NicNames Free Name-Servers, make the change with that DNS provider instead.
Write down the current root and www website records, plus MX and TXT records used by email or verification. Do not remove unrelated records. If DNSSEC, a DNS proxy or a restrictive CAA record is active, pause and review the setup with Wix and your DNS provider. Wix says DNSSEC and proxies are unsupported for pointing, and its CAA guidance says CAA is unsupported. Do not disable a protection merely to complete a generic walkthrough.
Connect the domain in Wix
- In Wix, open Domains, choose Add an Existing Domain, then Connect a domain you already own. Select the correct site. Wix may offer an automatic connection; for DNS that stays at NicNames, use its manual setup and choose pointing.
- Keep Wix's current connection instructions open. Copy the A record for the root domain and the CNAME target for www from your own Wix account. Use those exact values instead of an example copied from another site.
- In NicNames, open ClassicDNS, select the domain's Settings, confirm Free Name-Servers, and open DNS Records → Manage. Review the existing root and www records before adding or replacing anything.
- Use + Add record for a new row. For the root, choose A and enter the Wix-provided IPv4 address in IPv4 address. For www, choose CNAME and enter Wix's target in Host alias. Check Name, TTL, Type and Data for each row. Resolve conflicting old website answers before saving; ask NicNames Support if the existing row cannot be changed safely. Save the intended changes once.
The root and www records serve different names; Wix says both are needed for a secure connection. A general A-versus-CNAME guide explains the record types, but your Wix dashboard remains the source for the destination values.
Verify the site and preserve email
Return to Wix and complete its connection check. Test both the root domain and www over HTTPS, then confirm that incoming and outgoing email still work. A DNS update may take time to appear across resolvers; Wix says full connection can take up to 48 hours. If one address fails, compare the public DNS answers with the exact Wix instructions and check for old or conflicting website records. Our DNS troubleshooting guide helps distinguish a wrong authoritative answer from a cached old answer.
Pointing connects the website; it does not transfer the registration to Wix. Wix cannot manage DNS records that remain at NicNames. If the records or certificate still do not match after checking them, contact NicNames Support with the domain and the Wix record values, without sending account passwords.