Domain Search
 AI Domain Search
 Domain Transfer
 TLD List with Prices
 SSL Certificates
 Create a Website
 Google Workspace
 News
News Podcast
 Promos
 About Us
 Contact
When email to your business domain stops arriving, start by checking where its mail is routed. This guide shows how to review Google Workspace MX records in NicNames, recognize a supported older setup, and gather the right details before changing anything.
1. Confirm who manages the DNS
Have your NicNames account access, the exact email domain, and your Google Workspace administrator instructions ready. For an address such as hello@example.com, review example.com rather than www.example.com. The names here are examples.
In NicNames, open Domains → ClassicDNS and select Settings for the domain. Check the Name-Servers section before reviewing records. A domain using Free Name-Servers has a DNS Records section with a Manage link. If your domain uses another DNS provider, review the records there.
If the provider is unclear, read the nameserver information in a NicNames domain lookup. Registration and DNS hosting can be managed by different services. Changing nameservers just to find an editor can affect the website and email.
2. Review the MX rows and their values
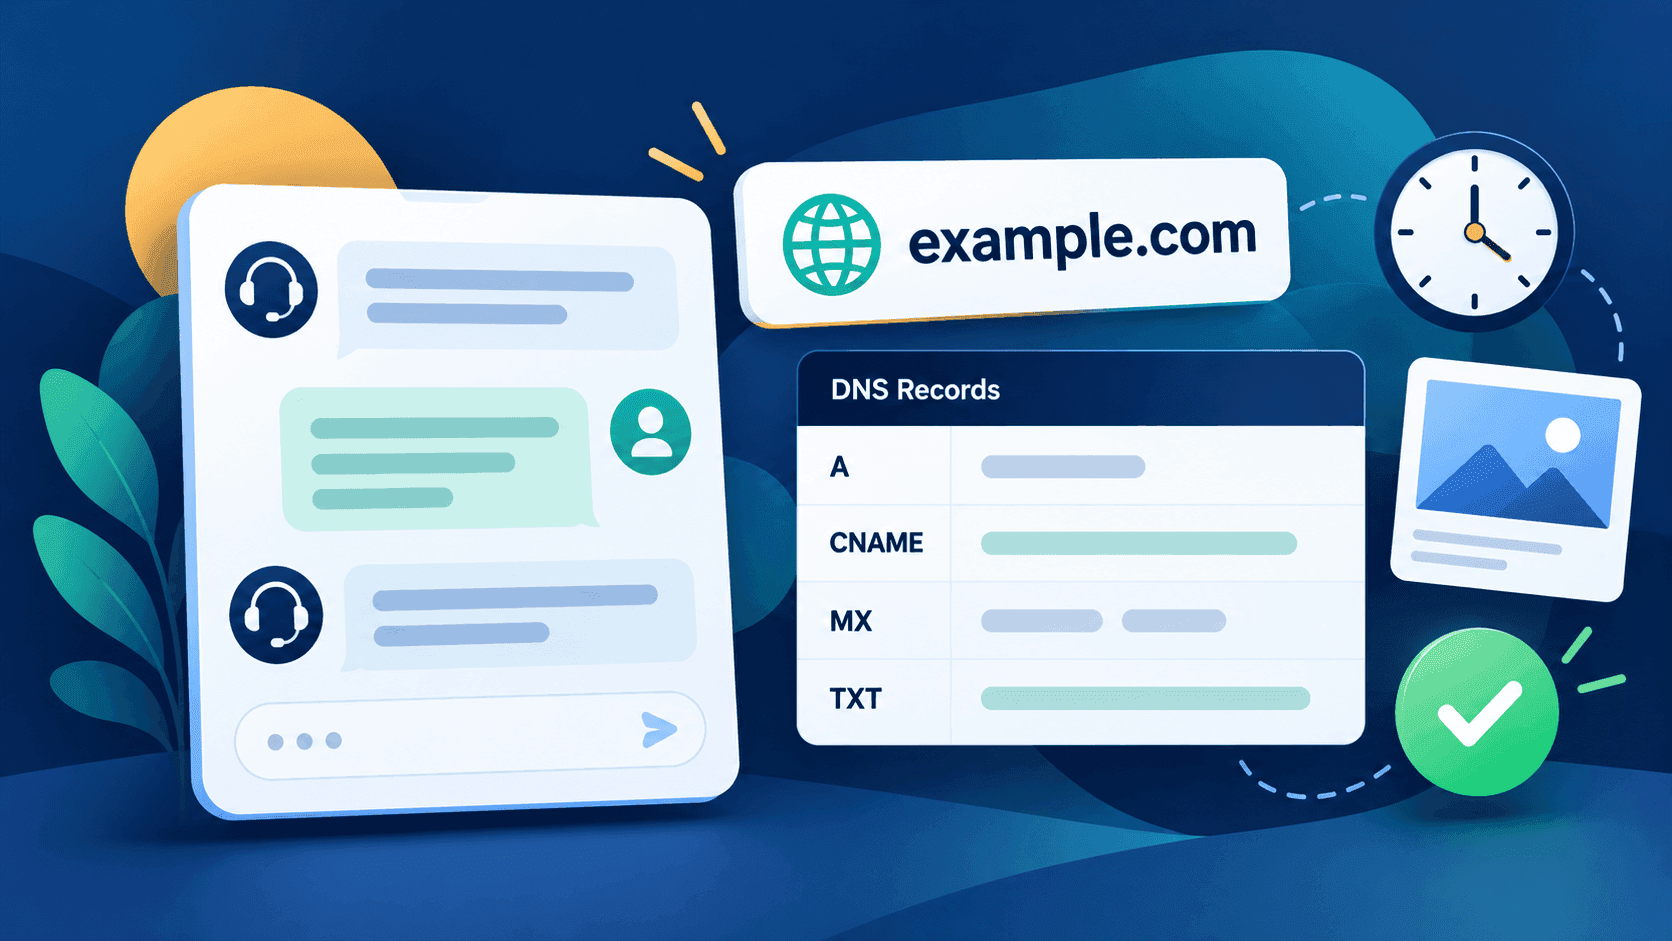
Select Manage beside DNS Records. The editor groups records by Name, TTL, Type and Data. Look for rows whose type is MX; the MX controls label the routing values Priority and Mail server.
Google’s current standard setup uses one MX record: priority 1 and smtp.google.com. Compare the record for the email domain with the instructions for your Workspace account. Google also supports legacy values containing aspmx; a working older setup does not need replacing simply because it uses different servers.
Check the domain name, record type, priority and mail-server spelling separately. A record for a website subdomain does not automatically route mail for the main domain. If the Name format is unclear, ask support before entering or replacing a record. Keep a copy of the existing routing values and avoid clicking Save while you are only inspecting them.
3. Check Google’s activation and public DNS
Google requires domain ownership verification and Gmail activation. Its documented activation path is Account → Domains → Manage domains → Activate Gmail in the Google Admin console.
Google recommends Admin Toolbox Dig for checking public MX answers. Query your email domain without www and compare those answers with the intended values. After a planned change, Google allows up to 72 hours for new MX records to be recognized.
Our Search Console TXT verification guide explains another use of DNS verification. A Search Console token verifies that service; it does not activate Google Workspace email.
4. Test delivery and escalate with useful details
Send a message from an unrelated external mailbox to a valid Workspace address and check whether it arrives. Record the test time and any bounce message. A correct-looking DNS table is one checkpoint; the delivery test checks the actual mailbox path.
If mail still fails, compare public MX answers with the intended configuration, confirm the receiving address exists, and review Gmail activation. Separate a missing message from one arriving in spam, since they can require different troubleshooting.
For help locating the NicNames DNS controls or interpreting the record fields, contact NicNames support. Include the domain, DNS provider, relevant record values and the delivery error. Keep passwords, verification tokens and private message contents out of the request.